
 MVP Profile
 Try my app HoloATC!
  HoloLens 2
 Magic Leap 2
 Android phones
 Snap Spectacles
 MetaLense 2
 Buy me a drink ;)
 BlueSky
 Mastodon
 Discord: LocalJoost#3562
Using Scene Understanding in the Unity Editor
A short tip this time, but nevertheless one that merits its own post.
Scene Understanding is an awesome feature, but it would be nice if you could use a scan from an real environment in the editor, just like you can do with a spatial mesh, like I described in early 2017. Developing and testing in the Unity Editor is way faster than deploying an app to the HoloLens every time, and is especially desirable if testing needs an environment you don’t have access to all the time (like a client’s factory or a ship).
This is perfectly possible. And in fact, attentive readers might have seen something peculiar in a screenshot in my previous post about Scene Understanding.
That, in fact, is a Scene Understanding scan of my home office.
How to obtain a Scene Understanding scan for use in the editor
- Clone the Mixed Reality Toolkit from GitHub
- Open the project with Unity 2019.4.x. I used 2019.4.20f1.
- Install the Scene Understanding Package using the MRTK Feature Tool, as explained in my previous post.
- Open the SceneUnderstandingSample scene. It’s in Assets\MRTK\Examples\Experimental\SceneUnderstanding\Scenes
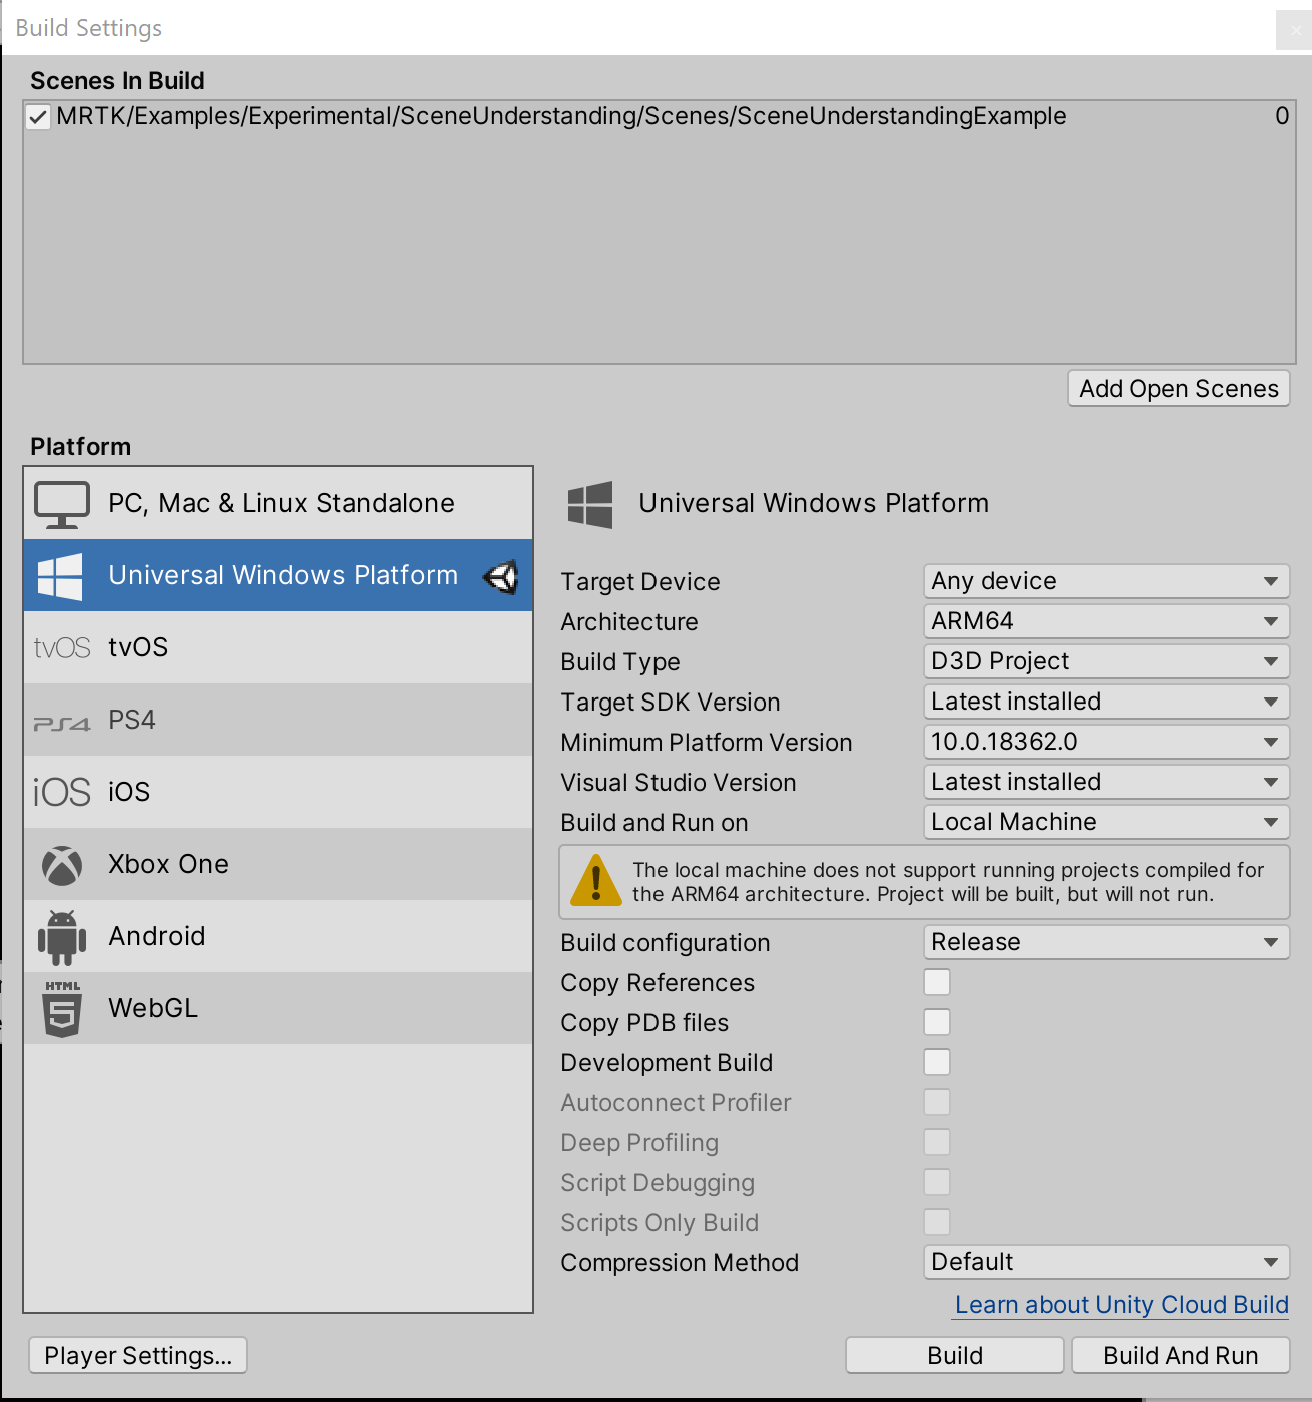
- Build the project with this scene as default scene 0 and deploy to a HoloLens as usual
- Start the app MixedRealityToolkit on your HoloLens, accept all consent popups.
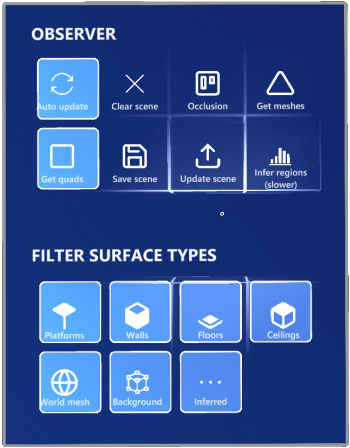
- Turn on all Surface types (World Mesh is default off).
- Select “Get Quads”.
- Tap “Save Scene”.
- Connect the HoloLens to your computer and open the device portal.
- Using the File Explorer (in Views/System), browse to LocalAppData\Microsoft.MixedReality.Toolkit_2.8.0.0_arm64__xxxxxxxxxxxxx\LocalState. the x-es stand for the package name the app got assigned. This may vary.
- You will see a file a couple of files:
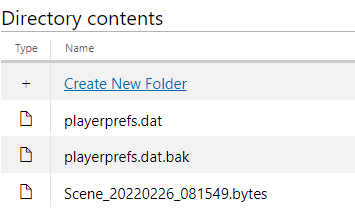
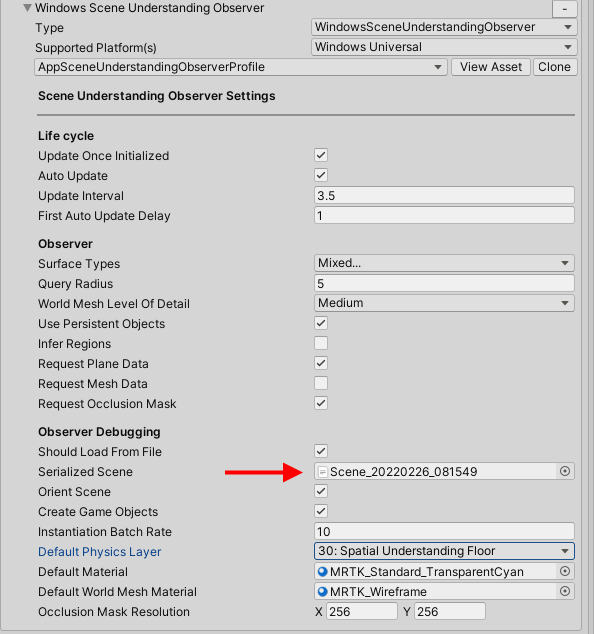
And the Scene_[date]_[time].bytes file or files is what you are looking for. Copy this file to your computer, drag it in your project, drag it into the “Serialized Scene” field in the Windows Scene Understanding Observer. Press play.
And presto.
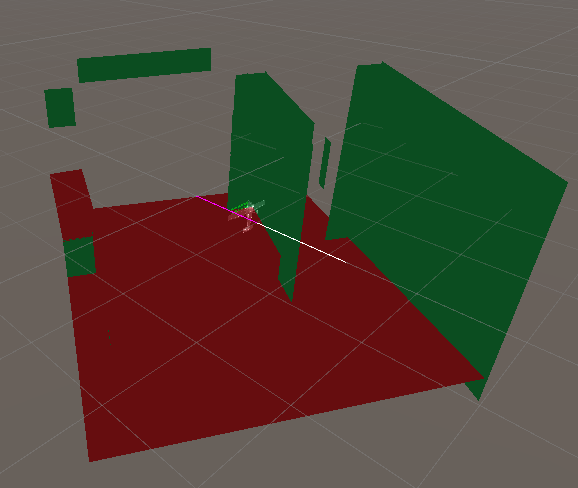
You can see this result in the previous post’s project. Just run the app in Editor and you will seen green walls and red floors, just like when you deploy the app on a HoloLens.